Looking to add a natural fragrance to your home? Look no further than a DIY reed diffuser! With 25 homemade DIY reed diffuser ideas, you can create your own customized diffusers using essential oils and carrier oils. These diffusers not only provide a pleasant aroma but also serve as an aesthetically pleasing decoration for any room.
By making your own DIY reed diffusers, you have full control over the ingredients and can ensure a natural and eco-friendly option for your home. Plus, it’s a fun and creative project that allows you to experiment with different scents and combinations. Start exploring these 25 homemade DIY reed diffuser ideas today and enhance your living space with delightful natural fragrances.
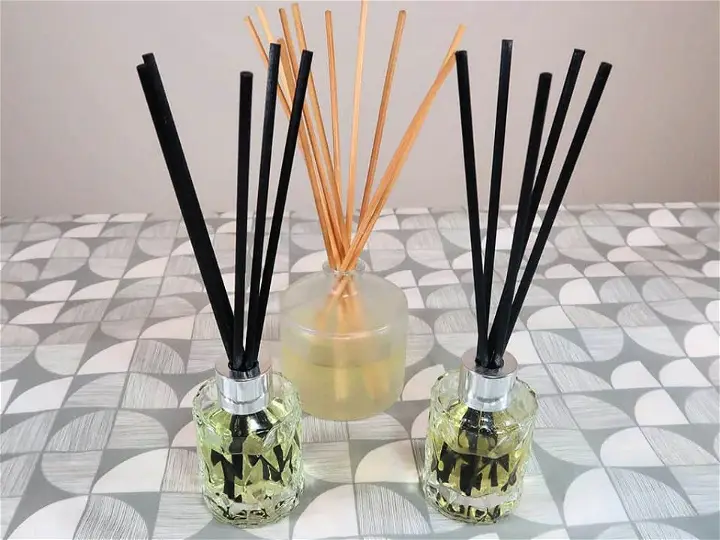
DIY Natural Reed Diffuser
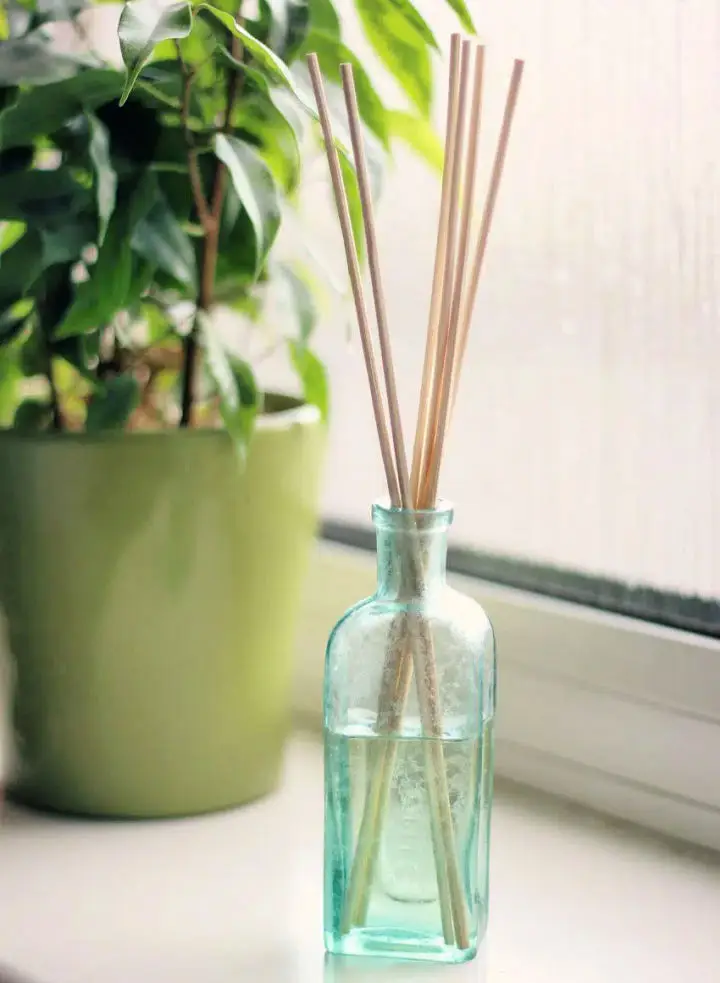
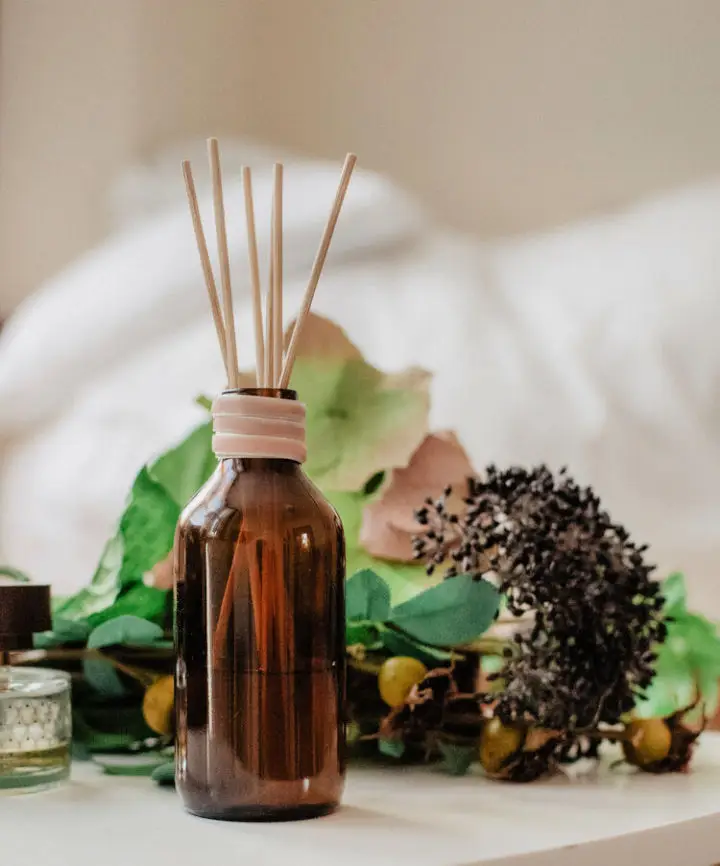
Transform your living space into a tranquil oasis with this simple and eco-friendly DIY reed diffuser. Utilizing the power of essential oils and materials you already have on hand, this diffuser subtly eliminates household odors and promotes relaxation and well-being.
The best part of this project is that it uses completely natural elements, avoiding the overpowering, artificial fragrances of store-bought air fresheners. Choose your favorite essential oils and enjoy their aromatic and therapeutic benefits as they purify the air and promote a sense of calm.
In addition to their pleasing scents, essential oils also contain antimicrobial properties, making your diffuser a natural pathogen cleaner. With this easy DIY reed diffuser, your home can embody freshness and tranquility every day.
Here are the materials you will need:
- A small glass jar or vase
- Carrier oil (such as sweet almond oil or fractionated coconut oil)
- 10-15 drops of your favorite essential oil(s)
- Bamboo reeds or skewers
Instructions:
- Fill the glass jar or vase with carrier oil, leaving about an inch of space at the top.
- Add 10-15 drops of your favorite essential oil(s) to the carrier oil and stir gently.
- Insert the bamboo reeds or skewers into the jar, allowing them to soak up the scented oil.
- Flip the reeds every few days to refresh the scent.
Enjoy your DIY natural reed diffuser and the fresh, calming atmosphere it creates in your home.
How to Make an Oil Stick Diffuser
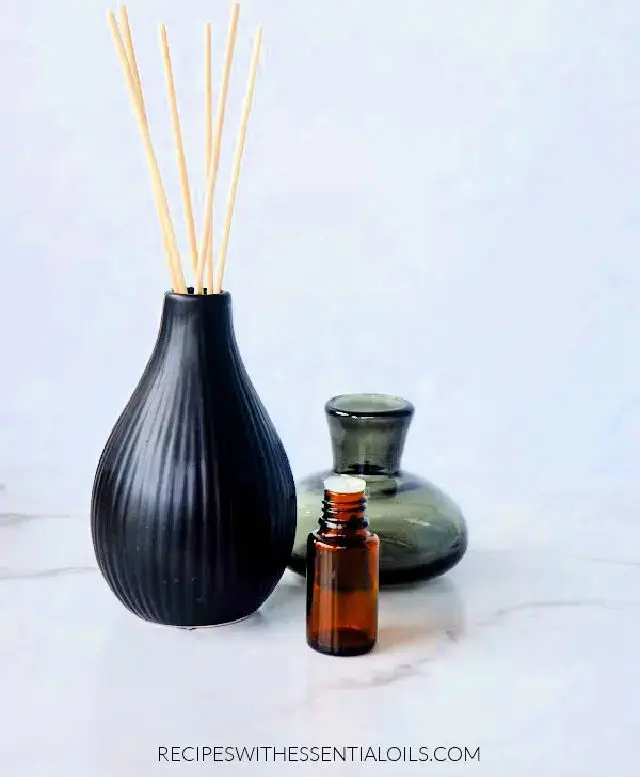
Making your own oil stick diffuser is a simple and fun process that can help you avoid harmful chemicals found in store-bought diffusers. Personalize your diffuser with a blend of pure and natural essential oils that can purify the air, boost your mood, and leave your rooms smelling fantastic.
To make your own oil stick diffuser, you will need the following materials:
- A glass jar or vase
- Carrier oil (such as sweet almond oil or fractionated coconut oil)
- Essential oils of your choice
- Bamboo skewers or reed diffuser sticks
Here are the steps to make your own oil stick diffuser:
- Fill the glass jar or vase with the carrier oil, leaving some space at the top.
- Add 15-20 drops of your chosen essential oils to the carrier oil and stir gently.
- Insert the bamboo skewers or reed diffuser sticks into the jar, making sure they are fully submerged in the oil.
- Flip the sticks every few days to refresh the scent.
Making your own oil stick diffuser is a creative and health-conscious choice that can enhance your living environment with the natural, therapeutic power of essential oils.
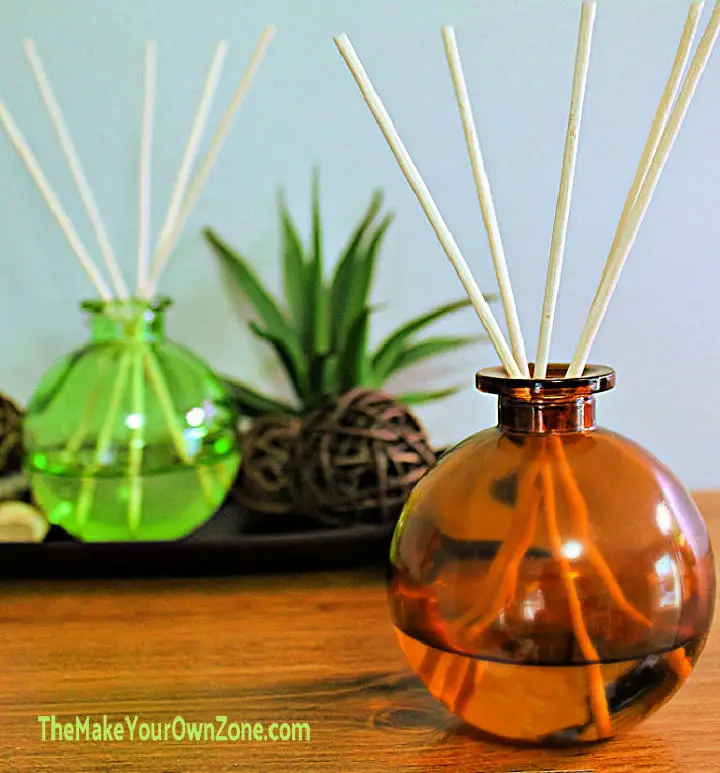
Making Your Own Reed Diffuser
Creating your own reed diffuser is an easy and cost-effective way to add a delightful scent to your home. To start, find a glass container with a narrow opening, such as one from a thrift store or craft store. Next, gather your materials: a light oil like apricot kernel or safflower oil, essential oils of your choice, alcohol, and reed sticks.
Mix the oils and alcohol together in the glass container, then add the reed sticks. The alcohol helps the oils travel up the reeds, releasing the scent into the air. Customize your scent by choosing essential oils that match your style and preferences.
Reed diffusers are perfect for small rooms and make great gifts. Get creative and let your unique scent shine! See the table below for a summary of the materials and steps needed to make your own reed diffuser.
| Materials Needed | Steps |
|---|---|
| Glass container with narrow opening | 1. Mix light oil and essential oils in container |
| Light oil (apricot kernel or safflower oil) | 2. Add alcohol to mixture |
| Essential oils of your choice | 3. Insert reed sticks into container |
| Alcohol | 4. Enjoy the soothing aroma |
Remember to change the reed sticks every few weeks to keep the scent fresh. With this easy-to-follow guide, you can create your own custom reed diffuser and enjoy the benefits of aromatherapy in your own home.
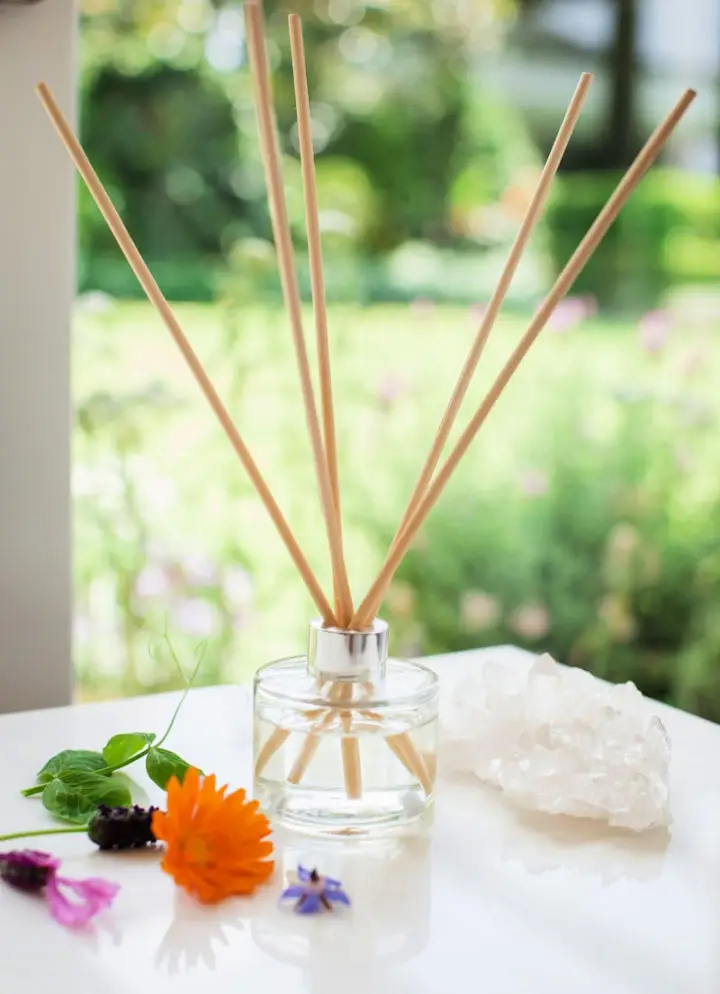
Create Your Own Non-Toxic Aromatherapy Reed Diffuser
Elevate your mood and create a calming ambiance with a DIY reed diffuser made from 100% non-toxic aromatherapy ingredients. With this simple step-by-step guide, you can customize your signature scent using essential oils. Say goodbye to chemical-laden plug-ins and embrace the goodness of natural ingredients.
Here’s how to make your own reed diffuser:
- Gather your materials: a glass container, rattan reeds, essential oils, and a carrier oil such as almond or jojoba oil.
- Fill the glass container with the carrier oil and add a few drops of your chosen essential oils.
- Place the rattan reeds in the container and let them soak up the oil mixture.
- Flip the reeds every few days to refresh the scent.
Enjoy the dreamy scents and enhance relaxation in any room by placing this natural diffuser wherever you desire a little aromatherapy. It’s a fabulous addition to your personal space or a thoughtful gift for loved ones.
Create Your Own Reed Diffuser for Just $5 in 5 Minutes
Enhance the ambiance of your home with a simple, cost-effective, and natural air freshener by creating your own reed diffuser. You only need a narrow-necked bottle, reeds, and essential oils, which are readily available and take less than five minutes to put together. You can even reuse an old diffuser bottle for this purpose.
Not only will your homemade reed diffuser fill your space with pleasant aromas, but it will also deliver the aromatherapy benefits of the essential oils used. You have the option to choose either a water or oil base to diffuse the scent. If you opt for an oil base, consider using thinner oils like grapeseed or sweet almond oil for better diffusion.
On the other hand, a water base requires the addition of vodka to help mix the essential oils. Your personalized blend of fragrances not only freshens up your home naturally but also makes for a thoughtful and inexpensive gift.
Here’s a simple step-by-step guide to creating your own reed diffuser:
| Materials Needed |
|---|
| Narrow-necked bottle |
| Reed sticks |
| Essential oils |
| Water or oil base |
| Vodka (if using a water base) |
- Fill the bottle with either the water or oil base, depending on your preference.
- Add 10-15 drops of your chosen essential oil to the base.
- If you’re using a water base, add a tablespoon of vodka to the mixture.
- Insert the reed sticks into the bottle and let them soak up the mixture.
- Flip the reeds every few days to refresh the scent.
Creating your own reed diffuser is not only an easy and affordable way to freshen up your home, but it also allows you to enjoy the creative process of making a personalized fragrance blend.
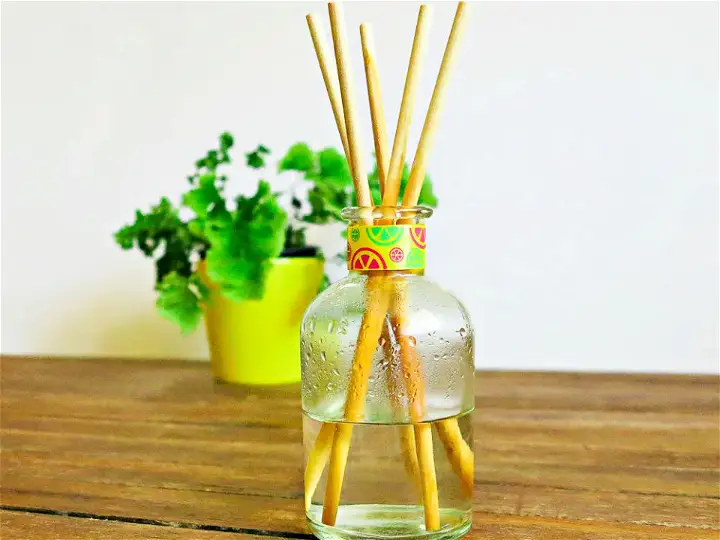
DIY Natural Reed Diffusers
Create a relaxing ambiance in any room with a customizable DIY diffuser that is easy to make. Unlike most air fresheners that contain harmful chemicals, homemade reed diffusers use essential oils to provide a lasting and uplifting aroma throughout your home. They are especially useful in areas like bathrooms, closets, or other small spaces that cannot accommodate traditional diffusers.
You can choose from a variety of essential oil blends, including lemon and lavender, lime and thieves, or citrus fresh, to suit your preferences. To make the diffuser, mix 30% essential oil with 70% carrier oil, such as sweet almond oil. The reeds soak up the mixture and release the scent.
Using antique bottles or mason jars can give your diffuser a chic look, or you can use any narrow-mouthed glass jar. You’ll be amazed at how these diffusers keep your home smelling great naturally. Get started today and enjoy the benefits of aromatherapy in your own home.
Here are some tips to make your DIY natural reed diffuser:
- Use a small funnel to pour the oil mixture into the jar to avoid spills.
- Flip the reeds every few days to refresh the scent.
- Customize the look of your diffuser by adding decorative elements like ribbons or beads to the jar.
- Experiment with different essential oil blends to find your favorite scent.
How to Make Reed Diffuser in 5 Minutes
Creating your own reed diffuser is a simple and fun project that can be done in just 5 minutes. Not only is this a budget-friendly option, but it also uses common household items, making it a perfect weekend project.
To make a reed diffuser, you will need a diffuser bottle, carrier oil, preferred essential oils, and reed sticks. Follow these easy steps to create your own natural air freshener:
- Fill the diffuser bottle with ¼ cup of carrier oil.
- Add 15-20 drops of your preferred essential oil to the carrier oil and mix well.
- Insert 6-8 reed sticks into the bottle, making sure they are fully submerged in the oil.
- Flip the reeds every few days to refresh the scent.
By making your own reed diffuser, you can save money and add a personal touch to every room in your house. Opt for this natural alternative to keep your home smelling fresh and cozy without synthetic perfumes. Bring natural freshness into your home today with this quick and easy project.
DIY Reed Diffuser – Step-by-Step Instructions
Creating your own reed diffuser is a simple and enjoyable task that can be completed in a matter of minutes. To start, gather a jar, reeds, water, optional alcohol, and your preferred essential oils. Follow these easy steps to create your personalized reed diffuser:
- Fill the jar with water and add a few drops of essential oil of your choice. If you prefer a stronger scent, add more drops or a few dashes of alcohol.
- Insert the reeds into the jar, allowing them to soak up the fragrance.
- Flip the reeds occasionally to refresh the scent.
- Enjoy the delightful aroma in your home for up to six months.
It’s that simple! With a DIY reed diffuser, you can control the ingredients and personalize the fragrance to your liking. Plus, it’s a safe and flameless alternative to candles or wax melters. Try out different essential oil combinations to find your favorite scent and add a pleasant and natural fragrance to any room in your home.
DIY Reed Diffuser in 10 Minutes
Crafting your own reed diffuser is a rewarding and easy process that can fill your home with captivating fragrances. Unlike store-bought options, homemade diffusers are free from preservatives and harmful chemicals, making them a healthier choice for you and your family.
To make your own reed diffuser, you will need Diproylene Glycol, perfumer’s alcohol, fragrance oils, and a diffuser bottle with reeds. You can recycle spent store-bought diffusers or source glass containers from thrift stores to keep your project sustainable and cost-effective.
Here are the steps to make your own DIY reed diffuser in 10 minutes:
- Mix 2 parts Diproylene Glycol with 1 part perfumer’s alcohol in a glass measuring cup.
- Add a selection of fragrance oils to the mixture and stir well.
- Pour the mixture into the diffuser bottle and insert the reeds.
- Flip the reeds every few days to refresh the scent.
Enjoy mixing and matching fragrance oils to achieve a scent profile that is uniquely yours. These homemade reed diffusers also make for perfect gifts for friends and family.
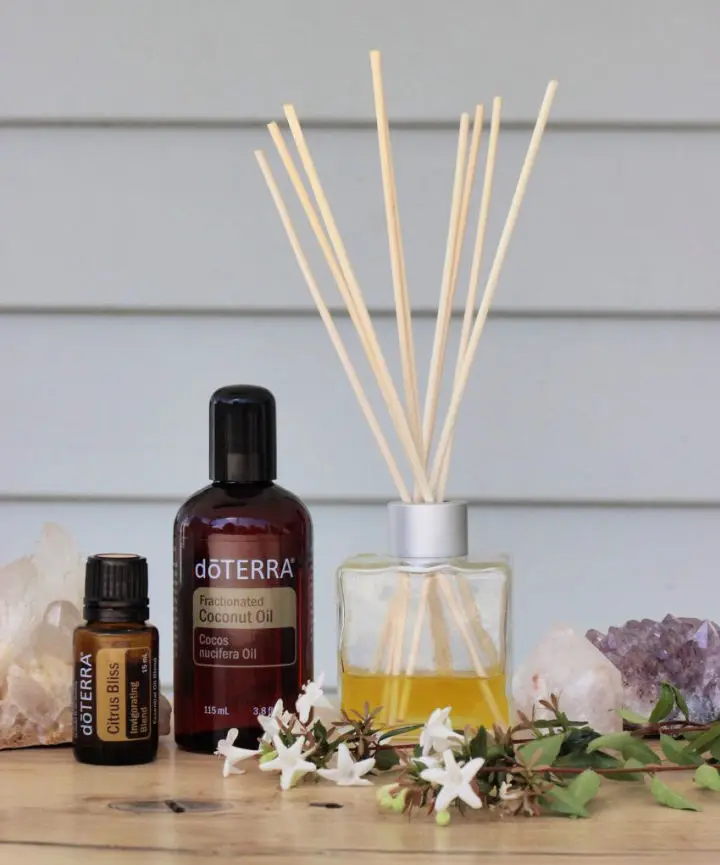
Lemongrass and Ginger Reed Diffuser
Create a refreshing and invigorating atmosphere in your home with a DIY lemongrass and ginger reed diffuser. This all-natural diffuser is made with fractionated coconut oil, ethanol, and a blend of pure essential oils, providing a chemical-free and eco-friendly alternative to store-bought diffusers.
The blend of lemongrass, lime, coriander, ginger, and patchouli essential oils creates an uplifting and energizing scent, perfect for use in bathrooms or small spaces. To ensure a long-lasting aroma, use bottles with narrow necks to slow down evaporation.
Enjoy the peace of mind that comes with knowing exactly what is in your diffuser, and indulge in the divine fragrance of your own creation. Try making your own lemongrass and ginger reed diffuser today and experience the benefits of natural aromatherapy in your home.
How to Create a Reed Diffuser
Making your own reed diffuser is a simple and cost-effective DIY project that can be done in just a few minutes. Unlike store-bought options that are often filled with synthetic fragrances, this homemade version allows you to create a low-tox alternative that is completely customizable.
To make your own reed diffuser, you will need a narrow-style jar, reeds (which can be found at affordable prices), essential oils, carrier oil, and witch hazel water. Choose the right essential oils to create a scent and color that you love. Flip the reeds occasionally to ensure a long-lasting fragrance.
This homemade diffuser is perfect for small spaces like bathrooms, and it adds a touch of creativity and freshness to your home. With this simple DIY project, you can start your journey into the world of essential oils and discover more cleaning recipes. Try it out today!
How to Make a Reed Diffuser

Transform your home into a relaxing oasis with a homemade reed diffuser. Making a reed diffuser is a quick and easy DIY project that allows you to customize the fragrance and control the ingredients. Plus, it offers a flameless alternative to candles, making it a safe option for homes with children or pets.
To make your reed diffuser, you will need a small container, essential oils, a light carrier oil, vodka (optional), and reeds or sticks. Follow these simple steps:
- Fill your container with ¼ cup of carrier oil.
- Add 15-20 drops of your favorite essential oil(s) to the carrier oil.
- If desired, add a tablespoon of vodka to help disperse the fragrance.
- Stir the mixture well.
- Insert the reeds or sticks into the container, allowing them to soak up the oil.
- Flip the reeds or sticks every few days to refresh the scent.
Experiment with different scent combinations to find your favorite. Some popular options include eucalyptus and spearmint for a refreshing aroma, lavender for a calming scent, and lemon for a bright and cheerful fragrance.
In just a few minutes, you can create a long-lasting, natural fragrance that will fill your home with inviting scents.
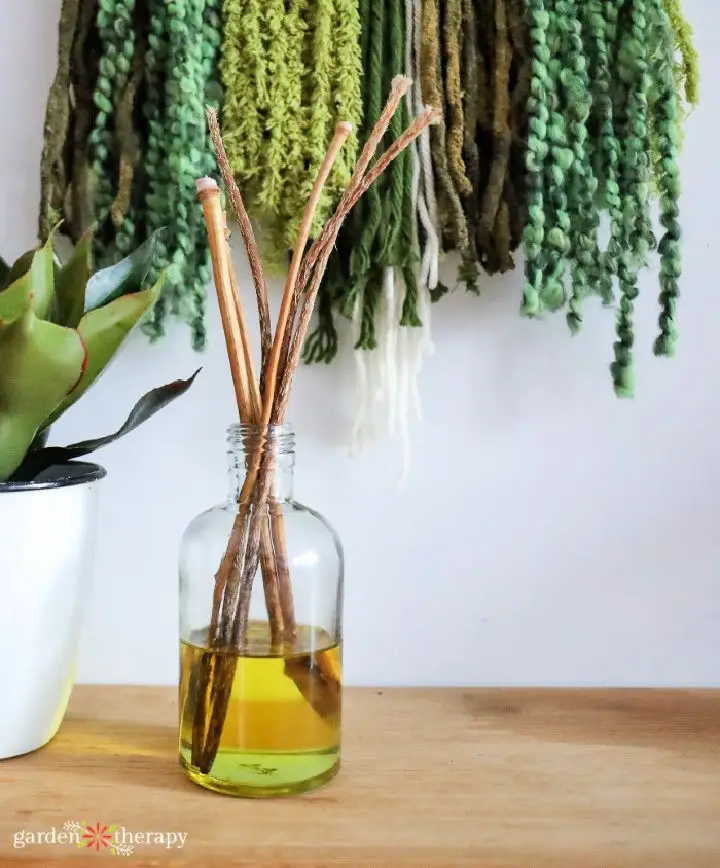
Homemade Reed Diffuser
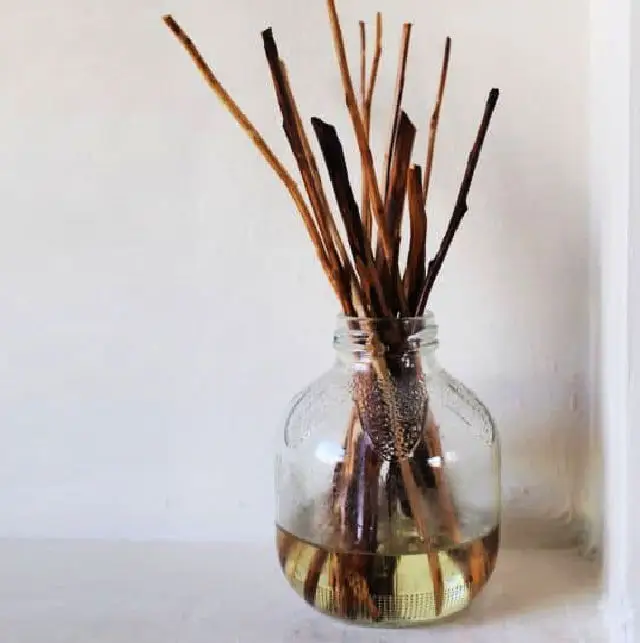
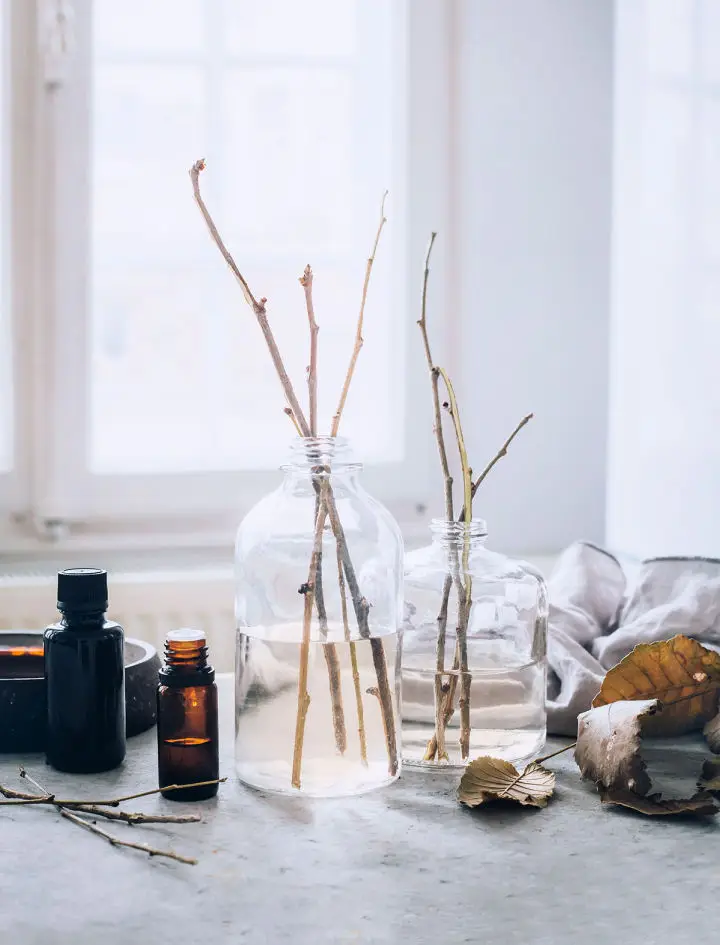
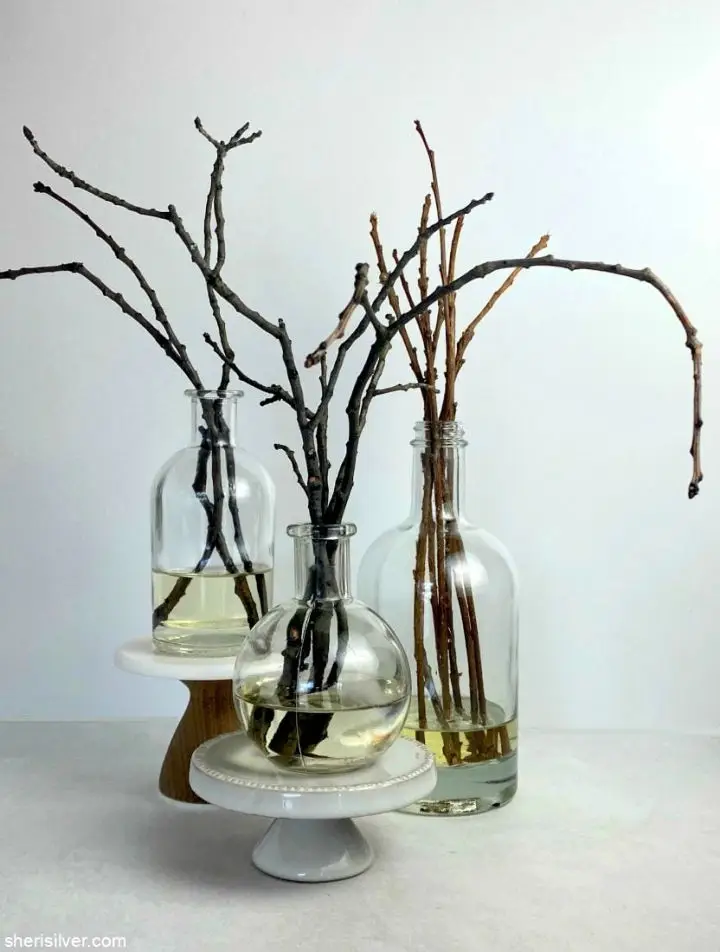
Bring a delightful fragrance to your living spaces with this comprehensive DIY guide to make a unique and eco-friendly scent diffuser using everyday items and essential oils. This project emphasizes the benefits of natural scents over synthetic ones for your health and the environment.
To make this charming homemade reed diffuser, you will need dried twigs, a small jar, essential oils of your choice, and sweet almond oil. Follow the four easy steps from twig preparation, oil mixture creation, and twig infusion to the final assembly.
Here are the steps to make your homemade reed diffuser:
- Prepare the twigs by drying them thoroughly and trimming them to the desired length.
- Mix your essential oils and sweet almond oil in a small jar.
- Insert the twigs into the jar and let them sit for a few hours to absorb the oil mixture.
- Finally, assemble the diffuser by arranging the twigs in a jar or a vase.
This homemade reed diffuser not only elevates the scent of your home but also adds a rustic aesthetic touch. It is an excellent addition to your home and makes a thoughtful DIY gift for loved ones. Enjoy a healthier and more naturally scented environment with this simple yet beneficial project.
Quick DIY Reed Diffuser With Essential Oils
Create a personalized and eco-friendly reed diffuser for your home using simple ingredients. Gather a small glass jar, reed diffusers, and your preferred essential oils. Add sweet almond or fractionated coconut oil to bind the ingredients together. Vodka, rubbing alcohol, or witch hazel can also be used as a binding agent.
Mix the ingredients together, swirl them around, and fan out the reed diffusers. This process creates a light and refreshing scent that is perfect for small rooms. Refresh the reeds every few days and replace the oil monthly for optimal results.
Experiment with different essential oil blends to customize the aroma to your preference. This DIY reed diffuser is not only cost-effective but also makes for a thoughtful gift. It is an aesthetic and olfactory enhancement to your home decor.
By creating your own reed diffuser, you can avoid artificial fragrances and enjoy the benefits of natural essential oils. Transform your living space into a fragrant haven with this simple and easy DIY project.
How to Make Reed Diffuser at Home
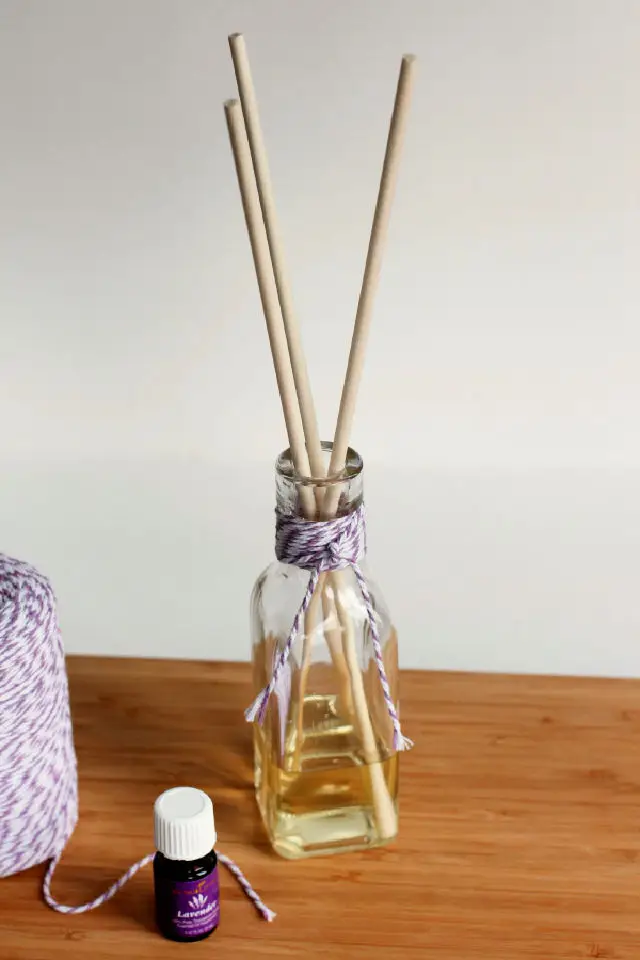
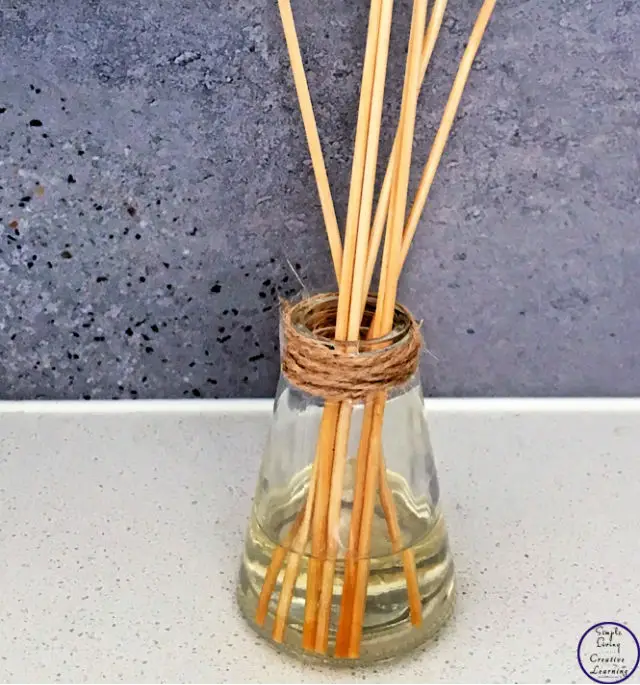
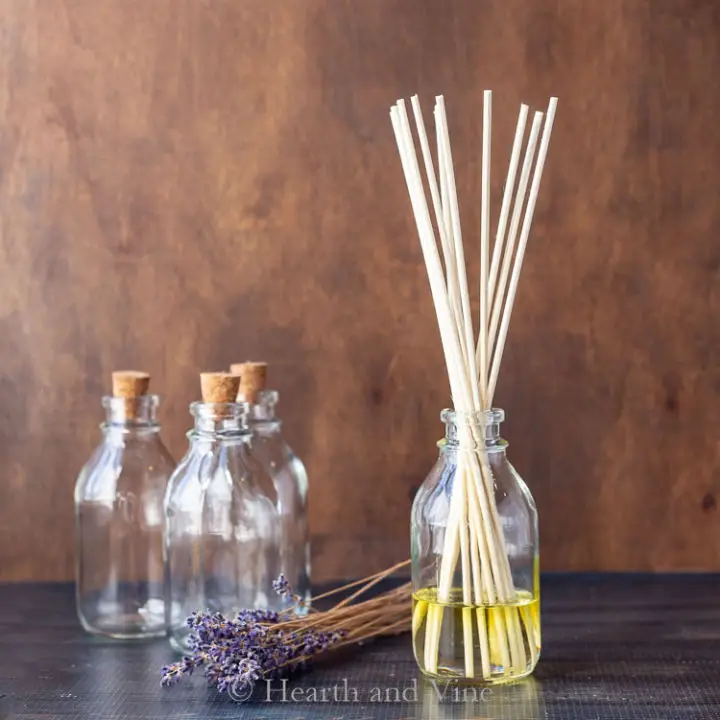
Enhance the ambiance of your living space by making your own reed diffuser. By using your favorite essential oils, you can create a personalized air freshener that will keep your home smelling fresh and inviting. Lavender is a popular choice due to its calming properties, which can create a soothing environment.
Making a reed diffuser at home is a simple process that requires readily available materials such as a jar, carrier oil, essential oil, and some reed sticks. To add a personal touch, you can attach a string to the top of the jar that matches the color of your chosen essential oil, creating a visually pleasing display.
Reed diffusers are versatile and can be used in any room of your house, whether it’s your living room or workspace. Enjoy the aromatic benefits and elevate your home decor by creating your own reed diffuser today!
Homemade Reed Diffuser With Essential Oils
Looking for a simple and elegant way to bring tranquility into your space? Look no further than this DIY reed diffuser, perfect for your nightstand. Customize the fragrance to match your room’s vibe and purpose with economical yet aromatic essential oils like lavender, lemon, or peppermint.
Crafting your reed diffuser is easy and takes only minutes. Simply add a few drops of your preferred essential oil to the diffuser, and let the reeds absorb and disperse the fragrance throughout the room. For a stronger scent, add more essential oils to the mix.
With a variety of essential oils to choose from, you can create a diffuser that caters to your every mood. Wake up to the refreshing sweet orange and peppermint aroma, or unwind to the calming blend of lavender and patchouli. Whether you prefer a sweet floral note with jasmine absolute or a refreshing touch with lemon and grapefruit, this diffuser has got you covered.
This reed diffuser offers an effortless way to infuse your surroundings with serenity and sweet dreams. Try it out and see how it enhances the ambiance of your space.
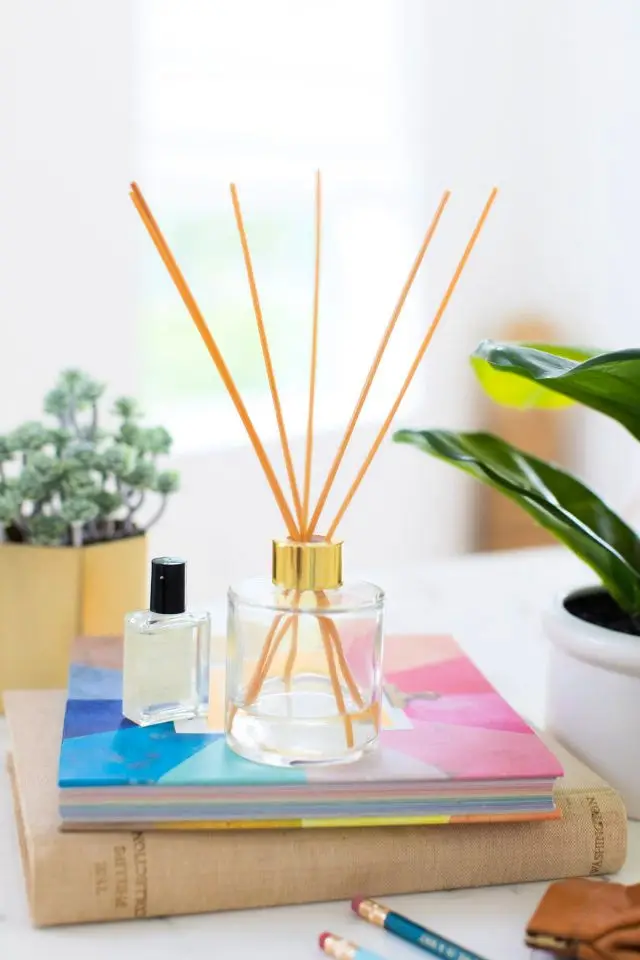
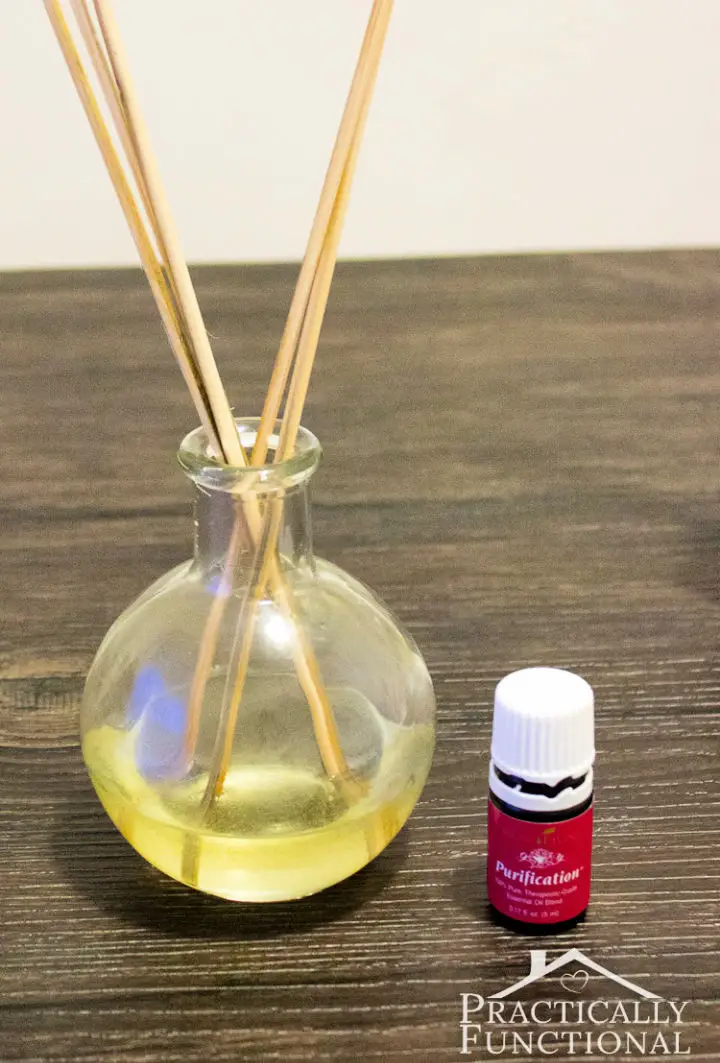
DIY Essential Oils Reed Diffuser
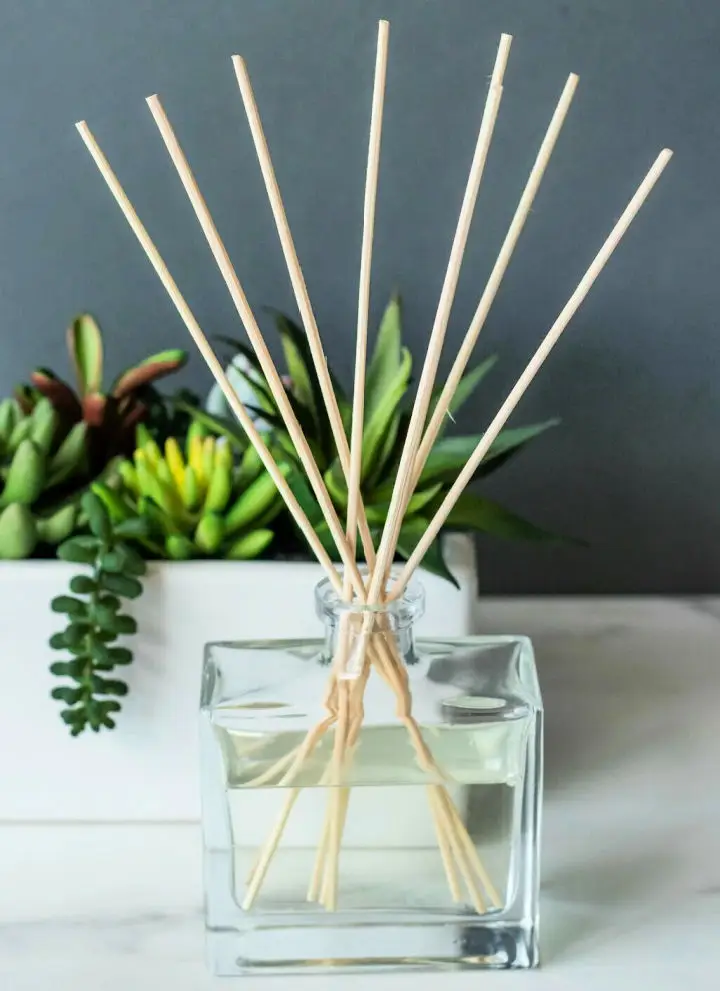
Enhance the atmosphere of your home with a DIY essential oils reed diffuser. This easy-to-make project promotes well-being and is a cost-effective and non-toxic alternative to conventional air fresheners. With just a few essential ingredients like wooden reeds, essential oils, vodka, and a glass bottle, you can create a tranquil ambiance that brings the refreshing essence of nature indoors.
To make your own reed diffuser, mix vodka and essential oils, add water, and place the reeds in the bottle. The wooden reeds absorb the mixture and release the invigorating, natural aromas into your living space. Notably, this project adds a touch of aesthetic appeal to your desk or any room.
This DIY reed diffuser is a fantastic gift for loved ones or a treat for yourself. It’s an eco-friendly alternative that infuses your space with captivating scents, promoting a soothing atmosphere in your home. Try making your own DIY essential oils reed diffuser today and enjoy the benefits of aromatherapy in your living environment.
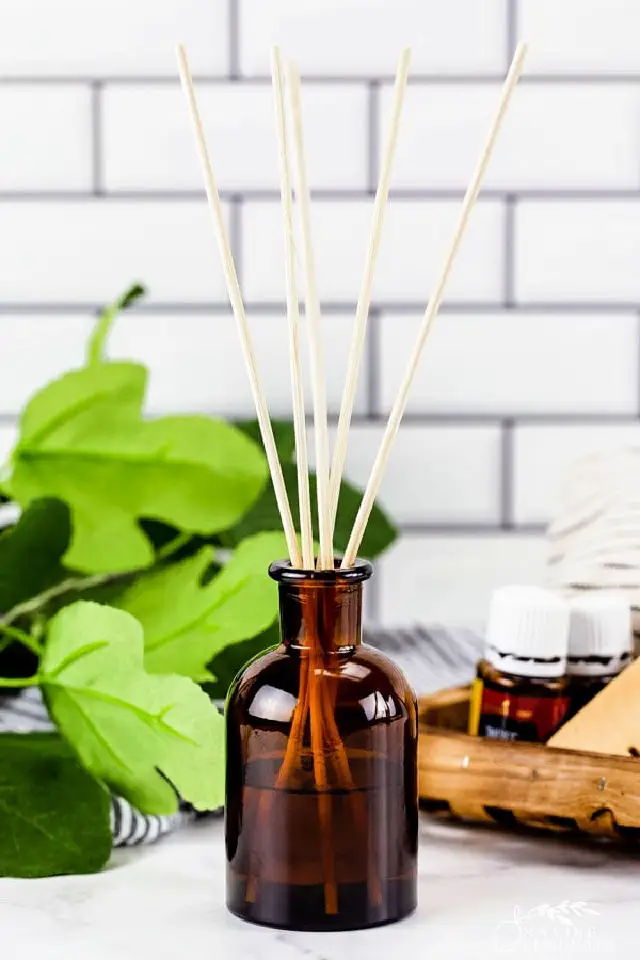
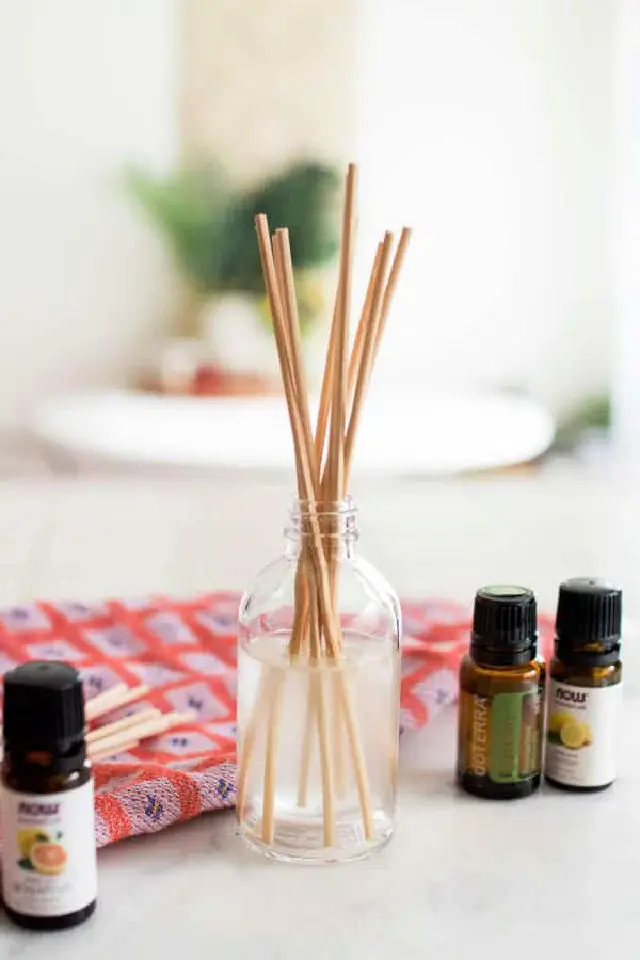
How To Make Oil Reed Diffuser
Create your very own natural air freshener with this simple, eco-friendly DIY guide. Start by finding an old glass bottle, preferably with a narrow opening, and some reed sticks. Next, choose your favorite essential oils to add to the bottle. We recommend using rosemary and grapefruit essential oils for a sweet aroma, or you can choose your own unique scent to enhance any small area in your home.
To make the oil reed diffuser, simply fill the bottle with a carrier oil such as sweet almond oil or fractionated coconut oil, leaving about an inch of space at the top. Add 10-15 drops of your chosen essential oils to the carrier oil and mix well. Insert the reed sticks into the bottle and allow them to soak up the oil mixture. Flip the reed sticks every few days to refresh the scent.
Not only is this DIY reed diffuser a safer and more natural alternative to chemically induced fragrances, but it also serves as an innovative gift idea for friends and family. Remember to keep the jar out of reach of children and pets to enjoy your homemade diffuser safely.
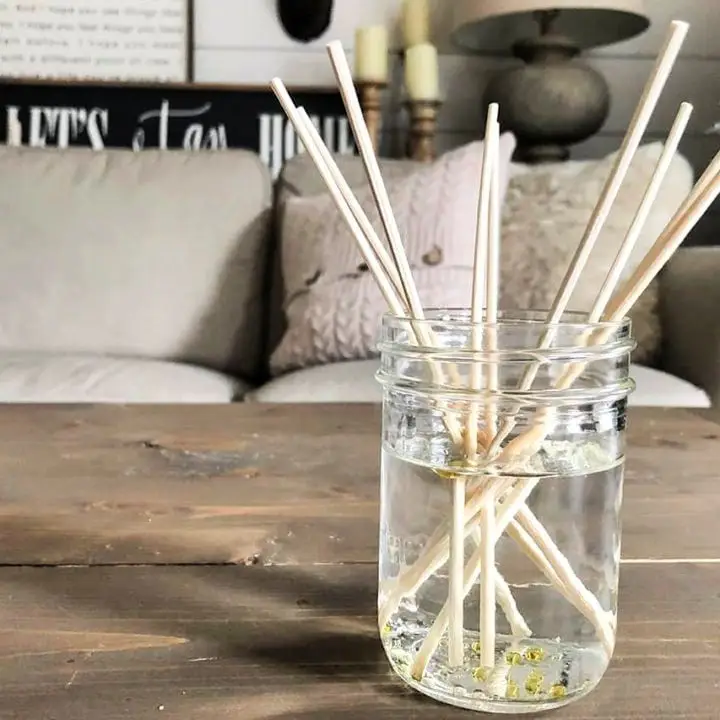
Make a Liquid Reed Diffuser
If you’re looking for a simple and cost-effective way to add a pleasant fragrance to your space, a liquid reed diffuser is a great option. With this DIY project, you can choose the scent, intensity, and materials to suit your preferences.
To make a liquid reed diffuser, you’ll need a base liquid and a binding agent. Water is recommended as the base liquid because it absorbs easily and avoids messy spills. Rubbing alcohol works well as a binding agent to combine the water and essential oils.
Instead of specialized diffuser reeds, opt for cost-effective bamboo skewers as they are just as effective. For the scent, unleash your creativity with essential oils. A citrus blend of lemon and orange is recommended for an energizing aroma.
To slow down evaporation, it’s important to use a bottle with a small opening. Whether you’re refilling an existing diffuser or making a new one, this tutorial empowers you to craft a reed diffuser tailored to your desires.
Here’s a quick summary of the steps to make a liquid reed diffuser:
- Choose a base liquid, such as water.
- Select a binding agent, such as rubbing alcohol.
- Add essential oils to create your desired scent.
- Pour the mixture into a bottle with a small opening.
- Insert bamboo skewers as the diffuser reeds.
- Enjoy the pleasant fragrance in your space.
How to Make an Aromatherapy Reed Diffuser
Making your own aromatherapy reed diffuser is a simple and mess-free process that will add a personalized touch of fragrance to your living space. Follow these easy steps to create your own aromatic masterpiece:
- Choose a carrier oil, such as sunflower oil, and pour it into a glass container with a narrow opening.
- Add your preferred essential oils to the carrier oil. You can customize the scent by mixing different oils to your liking.
- Insert the rattan reeds into the container, making sure they are fully submerged in the oil mixture.
- Flip the reeds every few days to refresh the scent.
- Enjoy the wonderful fragrance for a couple of months.
Not only is this DIY reed diffuser a great addition to your home, but it also makes for a thoughtful and personalized gift. Experiment with different scents and create your own unique aromatherapy experience.
Simple Reed Diffuser Step-by-Step Instructions
Creating your own reed diffuser is a fun and easy way to add a pleasant scent to your home. Follow these simple steps to make your own eco-friendly and budget-conscious diffuser.
Materials Needed
To make your own reed diffuser, you will need the following materials:
- Glass jar
- Rattan reeds
- Almond oil
- Rubbing alcohol
- Essential oil of your choice
Step-by-Step Instructions
- Choose a glass jar that is large enough to hold your reeds and oil.
- Fill the jar with almond oil, leaving a small amount of space at the top.
- Add a few drops of your chosen essential oil to the almond oil and stir well.
- Add a small amount of rubbing alcohol to the mixture and stir again.
- Insert the rattan reeds into the jar, making sure they are fully submerged in the oil.
- Flip the reeds every few days to ensure a consistent scent.
Tips for Success
- Choose a jar that complements your home decor.
- Experiment with different essential oils to find the perfect scent for your home.
- Use fewer reeds for a more subtle scent and more reeds for a stronger scent.
- If the scent becomes too strong, remove a few reeds or flip them less frequently.
Creating your own reed diffuser is a cost-effective and customizable way to bring the spa experience to your home. Follow these simple steps and enjoy the enchanting scent of your own creation.
Create Your Own Reed Diffuser With a Luxurious Fragrance
Elevate your DIY reed diffusers into a high-end olfactory experience with these five creative techniques. Experiment with a wider range of oils, such as vetiver and grapefruit, to add depth and uniqueness to your scented creations. Incorporate flower waters as a cost-effective alternative to create captivating and distinct fragrances.
Follow these simple steps to craft your own luxurious reed diffuser:
- Choose your preferred essential oil or blend of oils.
- Add your chosen oil to a carrier oil, such as sweet almond oil or fractionated coconut oil.
- Add a few drops of your preferred flower water to the oil mixture.
- Pour the oil mixture into a glass bottle and insert the reed sticks.
- Flip the reed sticks every few days to refresh the fragrance.
Unlock the secret to filling every room with its signature scent by creating your own DIY reed diffuser with a high-end fragrance.
How to Make Your Own Reed Diffuser
Create a delightful ambiance in your home by making your own reed diffuser. This simple and cost-effective DIY project uses essential oils to emit a pleasant aroma, promoting a tranquil atmosphere in any room.
To make your reed diffuser, you will need a glass vase or jar, reed sticks, and a carrier oil such as sweet almond oil, fractionated coconut oil, or safflower oil. First, fill the vase with the carrier oil and add a few drops of your favorite essential oil blend, such as Vanilla, Cedarwood, Lavender, or Eucalyptus.
Next, insert the reed sticks into the vase, allowing them to soak up the oil and diffuse the scent into the air. Flip the reeds every few days to refresh the fragrance and enjoy the therapeutic benefits of aromatherapy at home.
The beauty of this homemade reed diffuser is its simplicity, low maintenance, and flexibility, allowing you to replace or switch scents as desired. Plus, it adds a charming touch to your interior décor while promoting a pleasant atmosphere. Say goodbye to artificial air fresheners and candles and create your own fragrant haven with a DIY reed diffuser.
Make Your Own Essential Oil Reed Diffuser
Creating your own essential oil reed diffuser is a fun and easy way to add a delightful scent to your home while being eco-friendly and budget-friendly. You can personalize your scent by choosing your favorite essential oils and carrier oil. Here’s how you can make your own essential oil reed diffuser:
- Gather your supplies: a bottle, reeds, essential oils, and carrier oil.
- Fill the bottle with carrier oil, leaving a little space at the top.
- Add 10-15 drops of your chosen essential oil to the carrier oil and stir well.
- Place the reeds in the bottle, allowing them to soak up the oil.
- Flip the reeds every few days to keep the scent fresh.
Not only do these homemade reed diffusers provide a wonderful scent to your home, but they also make for unique and thoughtful gifts. Try experimenting with different essential oil combinations to create your own signature scent. Enjoy the magic of homemade reed diffusers!
Heat-Free Fragrance Reed Diffuser Tutorial
Looking for a flame-free and heat-free option to enjoy your favorite fragrance at home? Reed diffusers are a perfect solution for you! They offer a continuous scent without any flame or heat, making them safe for households with children or pets.
Making your own reed diffusers is easy and customizable. Here are the ingredients and steps to make your own elegant home fragrance:
Ingredients:
- Fragrance oil
- Reed diffuser sticks
- Carrier oil (such as safflower or sweet almond oil)
- Glass container
Preparation:
- Mix 10-20% fragrance oil with 80-90% carrier oil in a glass container.
- Insert the reed diffuser sticks into the container, making sure they are fully submerged in the oil mixture.
- Wait for the oil to travel up the sticks and diffuse the fragrance into the air.
Tips:
- Use a glass container for a more elegant look.
- Customize your fragrance by mixing different scents.
- Flip the sticks every few days to refresh the fragrance.
- Use 10-12 sticks for a small room and 12-15 sticks for a larger room.
Reed diffusers are a great addition to your candle line or a perfect standalone product. Don’t forget to package them in stylish containers and customize your labels for a professional touch. Start making your own reed diffusers today and enjoy a continuous, flame-free fragrance in your home!
Summary
Creating your own reed diffuser is a fun and easy way to add a pleasant scent to your home. With just a few simple ingredients, you can make your own unique scent combinations that are both affordable and natural. Some popular essential oils to use include lavender, peppermint, and lemon. Experiment with different oils and container styles to find the perfect fit for your home décor.